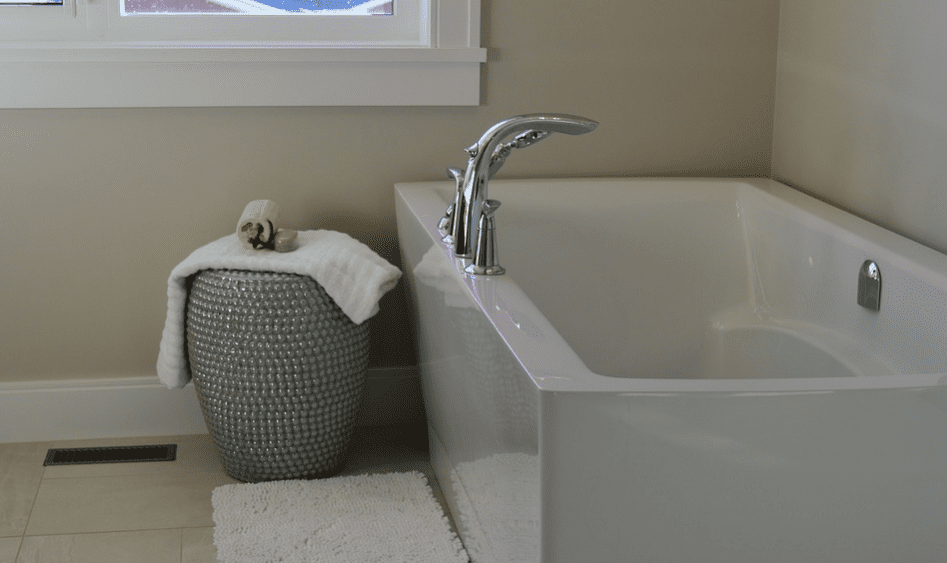
How to paint plastic tub.

Painting a plastic tub can be a great way to give your bathroom a fresh new look without having to replace the entire bathtub. While painting a plastic tub can be a bit tricky, with the right preparation and technique, it can be a relatively easy and inexpensive project that can be done in a weekend. In this article, we’ll go over the steps for painting a plastic tub.
Materials you will need:
- Plastic tub paint kit (includes epoxy coating and hardener)
- Plastic tub cleaner
- Sandpaper
- Paint brush
- Paint roller
- Paint tray
- Protective gloves
- Safety glasses
- Respirator mask
Step 1: Clean the Tub The first step in painting a plastic tub is to clean it thoroughly. Use a plastic tub cleaner to remove any dirt, grime, soap scum, or other residue that may be on the surface of the tub. Follow the manufacturer’s instructions for the cleaner and make sure to rinse the tub thoroughly with water afterwards. Allow the tub to dry completely before moving on to the next step.
Step 2: Sand the Tub Next, use sandpaper to scuff up the surface of the tub. This will help the epoxy coating adhere better to the plastic surface. Use fine-grit sandpaper and sand the entire surface of the tub, being careful not to press too hard or sand too deeply. Once you have sanded the entire surface of the tub, use a damp cloth to wipe away any dust or debris.
Step 3: Mix the Epoxy Coating and Hardener The epoxy coating and hardener are typically sold together in a plastic tub paint kit. Follow the instructions on the kit to mix the two components together. Make sure to wear protective gloves and a respirator mask during this step, as the fumes from the epoxy can be harmful.
Step 4: Apply the Epoxy Coating Use a paint brush to apply the epoxy coating to the edges of the tub, such as the area around the drain and the overflow. Then, use a paint roller to apply the epoxy coating to the rest of the tub. Be sure to work quickly and apply the coating evenly, as the epoxy will start to dry and harden within 30 minutes.
Step 5: Apply a Second Coat Once the first coat of epoxy coating has dried, you can apply a second coat. This will help to ensure that the tub is fully covered and that the finish is smooth and even. Allow the second coat to dry completely before moving on to the next step.
Step 6: Reinstall the Fixtures After the second coat has dried, you can reinstall the fixtures, such as the drain and overflow. Make sure to follow the manufacturer’s instructions for reinstalling the fixtures and allow any sealant to dry completely before using the tub.
Tips for Painting a Plastic Tub:
- Choose a paint kit specifically designed for plastic tubs. These kits will contain the right type of epoxy coating and hardener that will bond properly with the plastic surface of the tub.
- Make sure to wear protective gloves, safety glasses, and a respirator mask when working with the epoxy coating and hardener. These materials can be harmful if they come into contact with your skin or are inhaled.
- Follow the manufacturer’s instructions carefully when mixing and applying the epoxy coating and hardener. Work quickly, as the epoxy will start to dry and harden within 30 minutes.
- Allow each coat of epoxy coating to dry completely before applying the next coat or reinstalling the fixtures.
- After painting the tub, avoid using harsh chemicals or abrasive cleaners, as these can damage the finish. Instead, use a mild cleaner and a soft cloth to clean the tub.
- It is important to note that while painting a plastic tub
welcome to my site, I am Faisal I have 3 years of experience in guest posting. retund is a guest posting website!


